How to Improve My Product Photos
Have you ever asked yourself, how do I improve my product photos? Good product photos sell, don’t take my word for it, there is plenty of research out there proving this. Product photography plays an essential role in the success of any business, but particularly for e-commerce stores. One study revealed that 93% of consumers consider visual appearance to be the key deciding factor when buying online.
High-quality images will help customers to like, know and trust the brand and the products on offer. As a product photographer, you’ll need the skills to display the products in an engaging way, which both captures the customers’ attention and successfully showcases the brand.
Product photography advice can be a bit of a landmine when you’re looking online, as there is a lot of conflicting information floating around. We’ve compiled some simple, yet highly effective, tips and tricks that will help you to up your product photography game in no time.
Back to the Basics
Before we begin to explain some of our best product photography tips, let’s start right from the beginning and think about things from the client’s and customer’s point of view. Photographs play a major role in the customer’s buying decisions. These images are what show the worth and the value of a product to the customer.
From a client’s perspective, these images need to tie in with all aspects of the branding. A common goal is for a unified look, which customers can recognize without even seeing the company name.
There are two main types of product photography that you’all need to think about.
1. Clean-Cut White Background Images
2. Lifestyle Photos
White background photos are those that you will commonly see on big e-commerce sites such as Amazon. The background has been removed (or shot in a white studio) and the viewer is left with a clean image of the item.
Lifestyle photos differ as they will typically involve a person using the product, or the product in a specific situation. These are more likely to be used to tell a story in a magazine ad or on social media and websites.
The Background or Backdrop
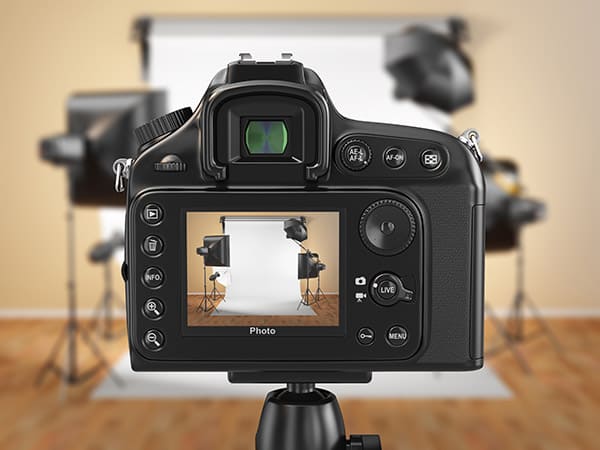
Careful consideration needs to go into the choice of background or backdrop. For clean-cut product photos, choose to use a white background, as this makes it much easier to remove in the editing process. You can create a low-budget shooting table by covering a small table or chair with white craft paper and securing it in place with a clip. Larger items, such as a piece of furniture, will need a stand mounted sweep.
An easy way to get ahead is to buy a ready-made lightbox that’s also known as a light tent. These tents feature a white background as well as built-in lights. These will give you more of a professional finish for your product photography shoots.
One of the most popular photo boxes or photo studios is the Amazon Basics Portable Photo Studio which is not too expensive but is not the cheapest either. It is a brilliant option for taking professional product photos with the added bonus of being portable. Everything is packed into the unit, just plug in to power the lights.
All About the Lighting
You can have the highest quality products and a pro backdrop setup, but if the lighting is off then it’s going to make the whole shoot a dud. It’s always worth spending some extra time trying to get the perfect lighting ready before you shoot. It may be tedious, but it will be worth it in the long-run.
You don’t need a fancy, expensive lighting rig in order to create great lighting. In fact, natural light can be used in product photography. Natural light is great if you’re using a chair or shooting table that can be positioned near to a window. Avoid shooting several hours around the time that the sun is at its highest, and never shoot in direct sunlight, as this will often be too bright and harsh.
If you’re thinking of investing in some small studio lights, then you may want to think about buying a kit which includes all the basics that you will need such as softboxes and reflectors. You can also buy things piece by piece until you build up your collection. The first item that we recommend is two identical cool 5000k bulbs. If you want to diffuse either natural or studio lights then you can use a piece of white cloth, cardboard or white plasterboard to soften or eliminate shadows. Plexiglass is also a wise investment, as you can use it to create a reflection.
Product Placement
Positioning the product is another essential element. If the product is branded, then you’ll need to centre or adjust the product so that it shows off labels, logos and other information that the client wants to be captured.
If you’re photographing jewellery, then it’s best to put them onto a bask or jewellery holder. You can make a simple one of your own with white cardboard and a couple of slits. Or another idea is to use a fishing line to hang the jewellery. You can then remove the line in the editing process.
You may need to get creative with more unusual-shaped items. Don’t be afraid to play around with the positioning, or hit Google or Pinterest for some inspiration and ideas. You can experiment with hangers, mannequins, glue, hooks, flatlays and more.
Use a Tripod
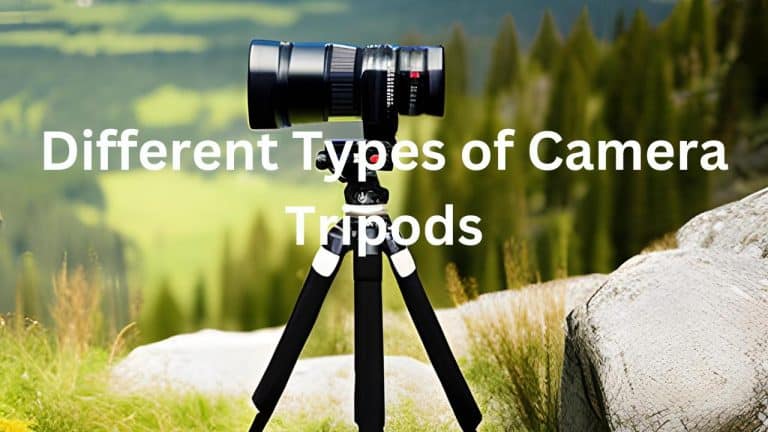
This might sound like common sense, but using a tripod is going to make your life so much easier. It will stabilize the shot so that you get a sharp and blur-free image each time. If you are photographing a range of products which are all similar size, then keep the camera positioned on the tripod for each of the shots to create a more unified look. Read my review of tripods under £50.
Post-Processing
Almost as important as the shoot is the editing process. It can really make a huge difference to the finished photo or batch by providing a polished and put together look. There are a whole host of free online editing tools and apps that are available to use.
Canva is a firm favourite with newbies and is easy and free to use. Photoshop app for iOS and Android is affordable and an excellent choice if you are editing photos that you have taken on your smartphone. If you really want your photos to pop, then try editing in Photoshop. If you’re a complete beginner, take an online tutorial and start experimenting with the basics like the colour palette, saturation, exposure. You will also need to optimise the images if they are going online – the client will let you know their own specifications.
(Click for larger image)
Adobe Photoshop CC and Lightroom CC are considered the most complete software packages available for photo editing, retouching, sharpening and so much more. They handle any formats you can think of and can easily export photographs to many formats and sizes. Check the latest price on Amazon here and pick up this amazing package to edit your product photos.
Recording it All
Last but not least, and one of the tips that we really do recommend you follow is to keep a track of all the tiny details for each shoot that you do. Some pros like to keep a notebook and log each product shoot. They will often include things like the size of the layout, lighting setup, product angle, colours, props and editing adjustments. This is such a valuable thing to do, as if the client asks for more images then you will have all the information you need ready.
You don’t need pricey courses and buckets of cash to improve your product photography skills. Implement some of the above tips and you will be well on your way to creating professional product photos in no time.
References:
Kiss Metrics, How Do Colors Affect Purchases
Psychology Today, How emotions influence what we buy
Thomas, D. (2014) The art and style of product photography. John Wiley & Sons

